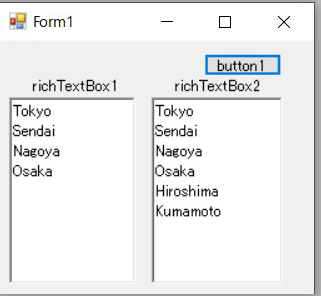
<プログラム例>
using System;
using System.Collections.Generic;
using System.ComponentModel;
using System.Data;
using System.Drawing;
using System.Linq;
using System.Text;
using System.Threading.Tasks;
using System.Windows.Forms;
namespace Specified_N_chara_Element_Remain
{
public partial class Form1 : Form
{
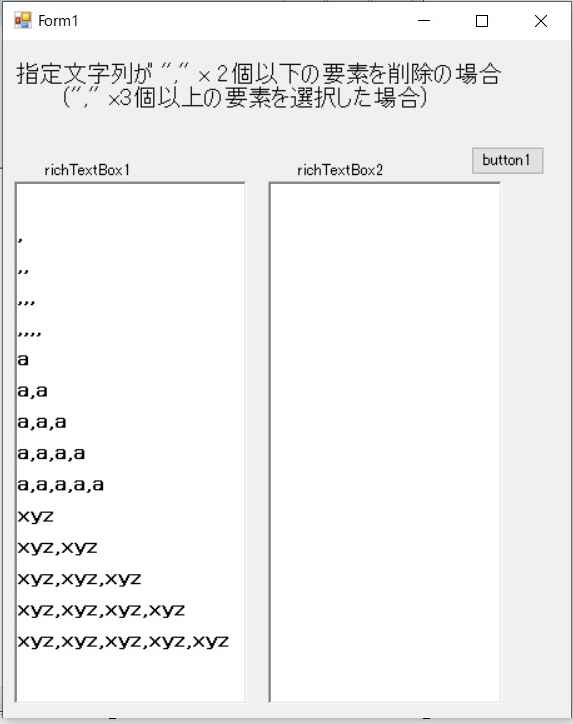
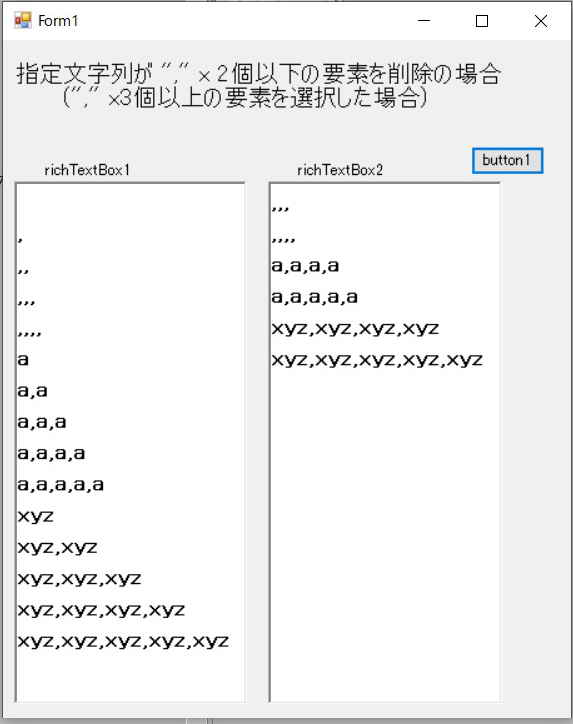
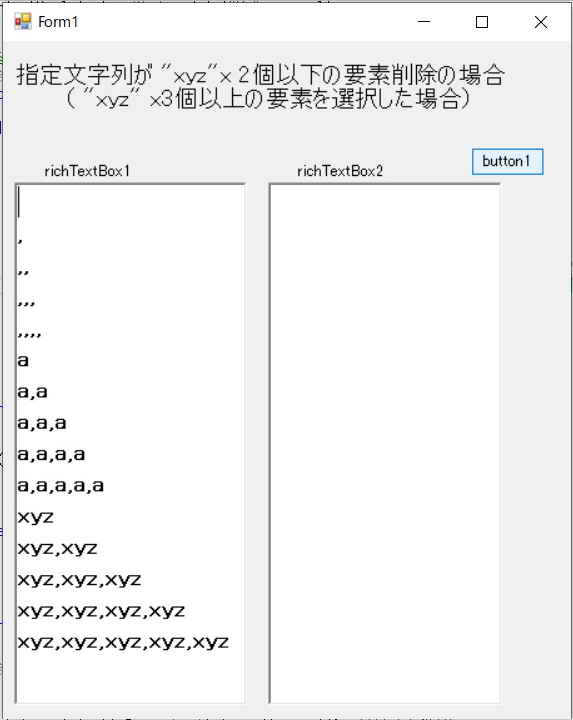
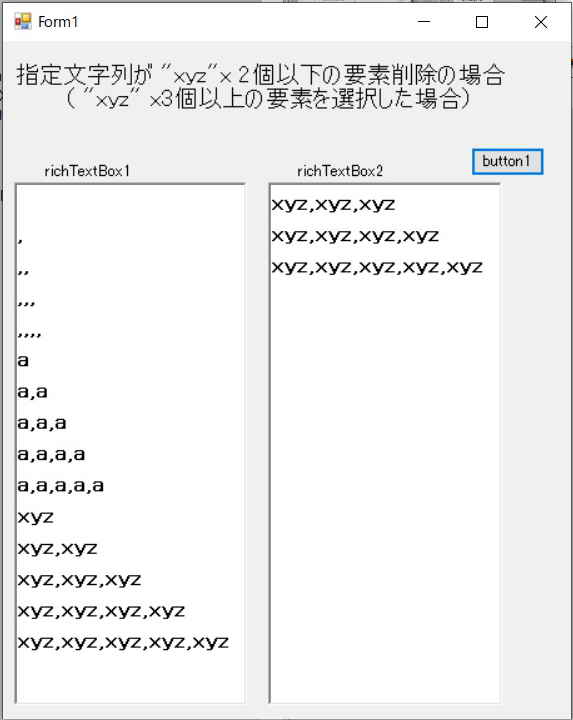
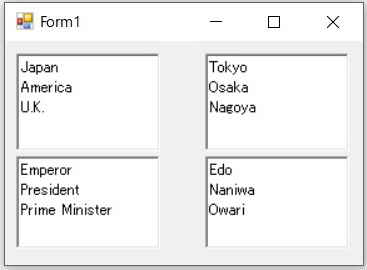
string[] array1 = {"", ",", ",,", ",,,", ",,,,",
"a", "a,a", "a,a,a", "a,a,a,a", "a,a,a,a,a",
"xyz", "xyz,xyz", "xyz,xyz,xyz", "xyz,xyz,xyz,xyz", "xyz,xyz,xyz,xyz,xyz"};
public Form1()
{
InitializeComponent();
label3.Text = "指定文字列が \",\" x 2個以下の要素を削除の場合" +
"\n (\",\" x3個以上の要素を選択した場合)";
// label3.Text = "指定文字列が \"xyz\"x 2個以下の要素削除の場合" +
//"\n ( \"xyz\" x3個以上の要素を選択した場合)";
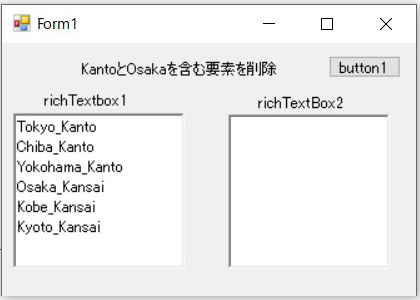
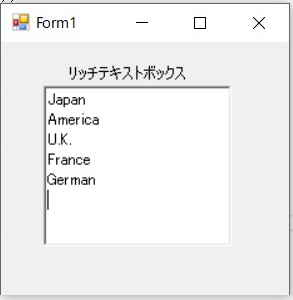
richTextBox1.Text = String.Join("\n", array1);
}
//削除条件を定義するデリゲート
static bool strCheck(string str)
{
bool judge;
int startPosi = 0;
int endPosi = 0;
int Num = 0;
do
{
endPosi = str.IndexOf(",", startPosi); //label3.Text = "指定文字列が ","x 2個以下の要素を削除の場合"";
// endPosi = str.IndexOf("xyz", startPosi); //label3.Text = "指定文字列が "xyz"x2個以下の要素を削除の場合";
if (endPosi >= 0)
{
startPosi = endPosi + 1;
Num++; //指定文字列の数をカウント
}
} while (endPosi >= 0);
if (Num <= 2)
{
judge = true; // , が2個以下の要素を削除 //要素削除
}
else
{
judge = false; //要素 非削除
}
return judge;
}
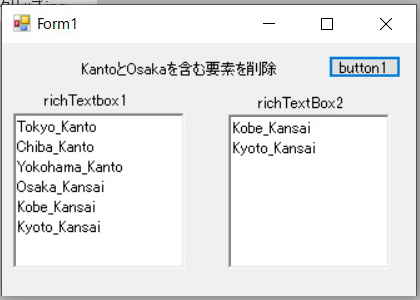
private void button1_Click(object sender, EventArgs e)
{
List<string> list1 = new List<string>(array1); //リスト作成
// var list1 = new List<string>(array1); //リスト作成
list1.RemoveAll(strCheck); //条件にもとづくリスト作成
richTextBox2.Text = String.Join("\n", list1); //リストを \n で結合し テキストボックスに表示
}
}
}